

The landscape of home-based textile and product customization underwent a significant transformation with the introduction of Cricut Infusible Ink, a professional-grade heat transfer system that utilizes sublimation technology to create permanent, factory-quality results. Unlike traditional heat-transfer vinyl (HTV) or iron-on applications, which adhere a layer of material to the surface of a substrate, Infusible Ink facilitates a molecular bond between the ink and the base material. This process results in designs that are seamlessly integrated into the medium, ensuring they do not flake, peel, crack, or wrinkle over time. This technology has bridged the gap between amateur crafting and commercial-grade production, allowing individuals to produce bespoke apparel, home decor, and giftware that maintain their integrity through repeated use and laundering.
The Science of Sublimation in Home Crafting
To understand the efficacy of Cricut Infusible Ink, one must examine the chemical process of sublimation. In a standard heat transfer, a solid adhesive is melted to stick to a surface. In contrast, Infusible Ink involves a solid-to-gas transition. When the specialized ink—available in both pre-printed transfer sheets and high-pigment pens—is subjected to high temperatures (typically between 385°F and 400°F), it converts directly into a gas without passing through a liquid phase.
Simultaneously, the heat opens the pores of the polymer-based substrate, such as polyester fabric or a poly-coated ceramic. The gaseous ink permeates these pores, and as the heat source is removed, the pores close, trapping the ink inside the fibers or coating. As the material cools, the ink returns to a solid state, effectively becoming a permanent part of the material’s structure. This chemical permanence is the primary reason why Infusible Ink is favored for items subjected to heavy wear, such as athletic wear, frequently washed tote bags, and dishwasher-safe mugs.
Market Context and the Evolution of DIY Personalization
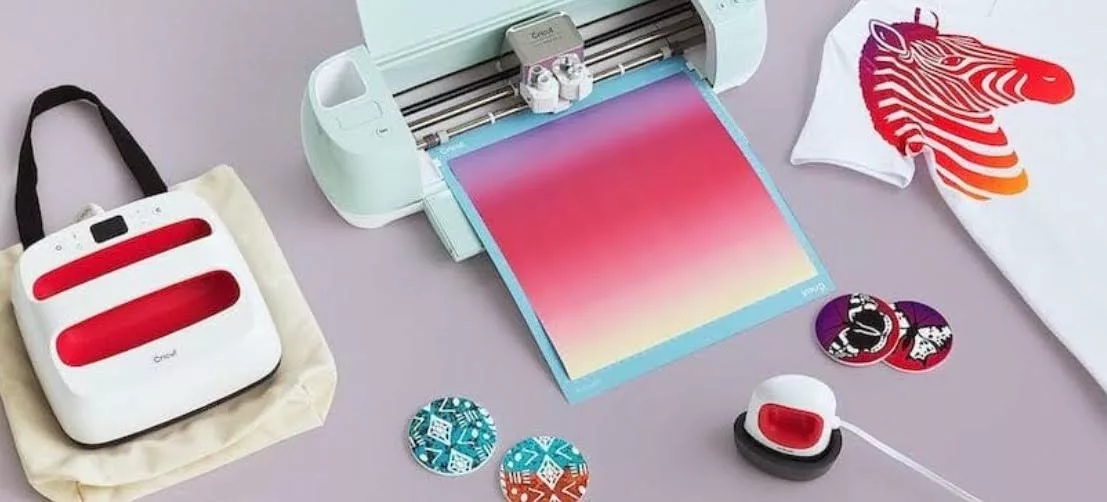
The emergence of Infusible Ink in 2019 marked a pivotal moment for Cricut Inc. and the broader "Etsy economy." Prior to this, high-end sublimation was largely restricted to industrial settings due to the high cost of sublimation printers and specialized inks. By providing pre-inked sheets and pens that work with existing cutting machines like the Cricut Maker, Explore, and Joy series, the company democratized the technology.
Data from the global personalized gift market indicates a steady compound annual growth rate (CAGR), with consumer demand shifting toward "retail-quality" finishes. Modern consumers increasingly reject the "plastic feel" associated with traditional iron-ons, favoring the soft-hand feel of infused designs. This shift has forced hobbyist manufacturers to adopt more sophisticated tools to remain competitive in digital marketplaces.
Technical Requirements and Material Compatibility
A critical component of successful ink infusion is the selection of compatible "blanks." The technology is exclusively effective on materials with a high polyester count (at least 65% for fabric) or those treated with a specialized polymer coating.
Compatible Substrates Include:
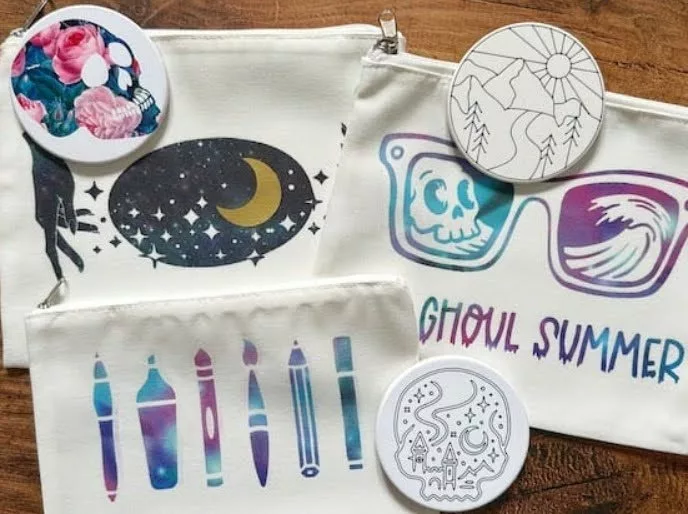
- Polyester Textiles: T-shirts, tote bags, pillow covers, and cosmetic bags.
- Poly-Coated Ceramics: Mugs and coasters.
- Treated Hard Surfaces: Aluminum sheets, glass, and certain types of untreated light-colored wood (though results vary).
Cricut officially recommends using their branded "Infusible Ink Blanks," which are laboratory-tested to ensure optimal ink absorption and color vibrancy. Using non-branded items requires careful checking of the polyester content; 100% cotton, for instance, will not bond with the ink, resulting in a faded, "ghosted" image that washes out immediately.
Step-by-Step Procedural Analysis: The Cosmetic Bag Project
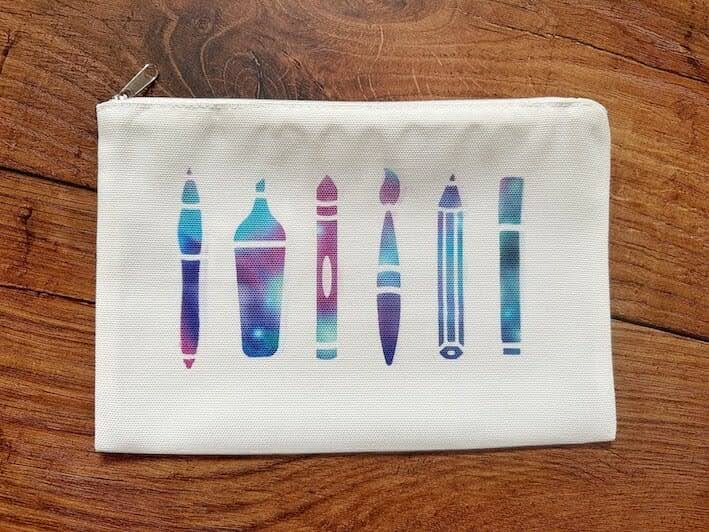
The application of Infusible Ink Transfer Sheets requires a disciplined approach to heat and pressure management. The following chronology outlines the professional workflow for personalizing a polyester-based cosmetic bag.
Phase 1: Digital Design and Mirroring
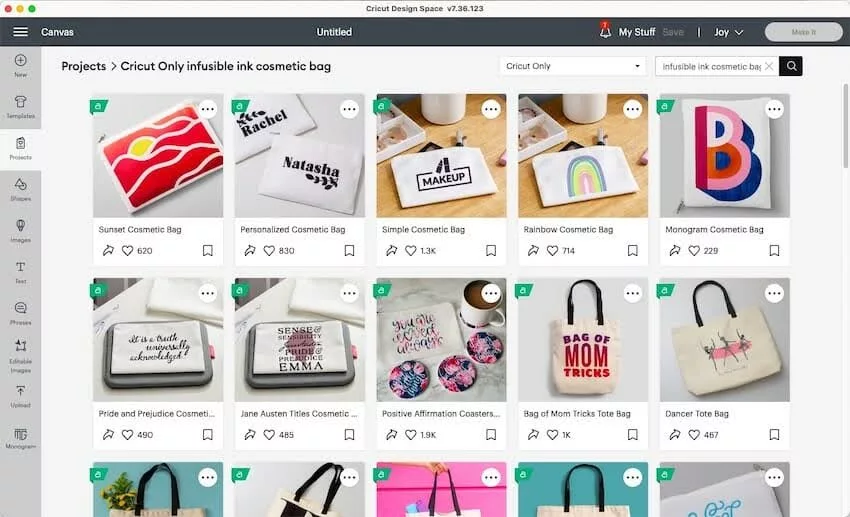
The process begins in the Cricut Design Space software. Users select or create a vector design tailored to the dimensions of the bag. A mandatory technical step is the "Mirror" toggle. Because the transfer sheet is placed face-down on the substrate, the design must be cut in reverse to appear correctly once infused.
Phase 2: Precision Cutting and Weeding
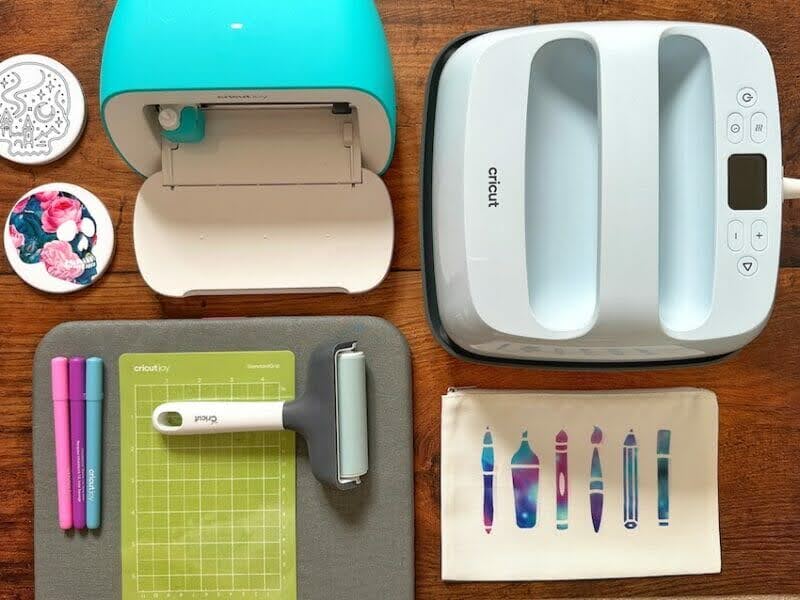
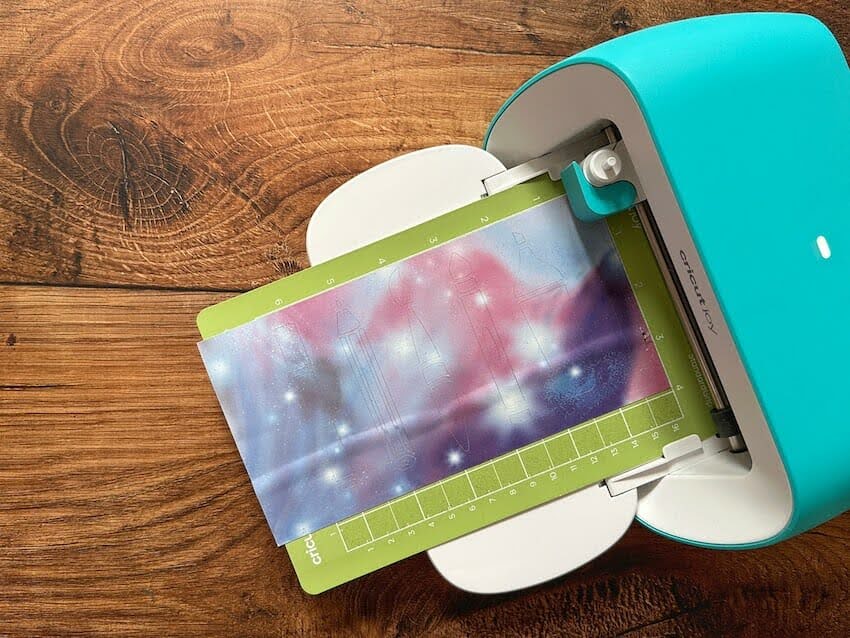
The Infusible Ink Transfer Sheet is placed onto a StandardGrip cutting mat with the ink side facing up. Once the machine completes the cut, the user performs "weeding"—the removal of excess ink paper. Unlike HTV, which is rubbery, Infusible Ink sheets have a paper-like consistency. Professional crafters often use the "cracking" method, gently rolling the paper to pop the cut lines, making it easier to remove the negative space without tools that might scratch the ink.
Phase 3: Thermal Application
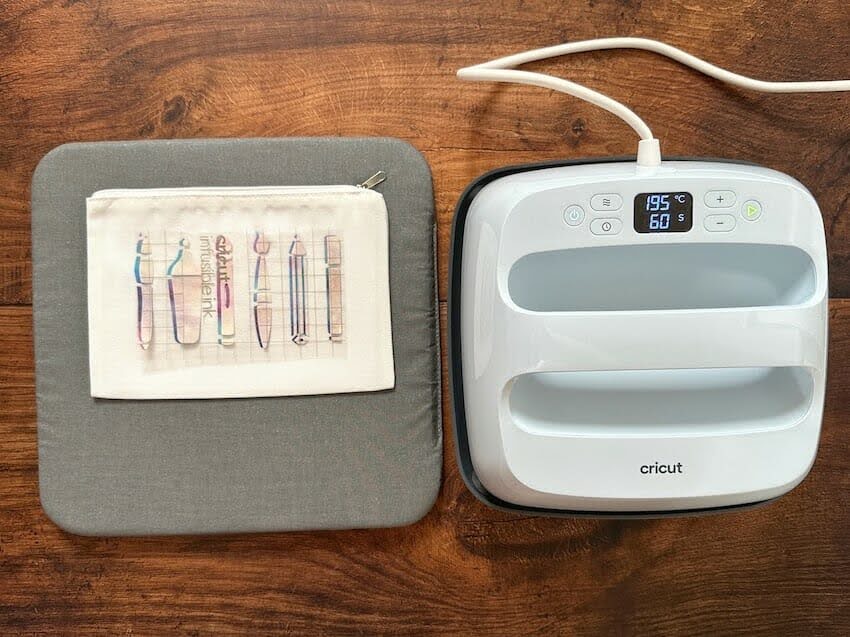
The bag must be pre-heated to remove moisture and wrinkles. A piece of cardstock is inserted inside the bag to prevent the ink from "bleeding" through to the back side. The weeded design is placed face-down, covered with butcher paper (usually provided with the sheets) to protect the heat press, and pressed at 385°F for 60 seconds with light pressure. The result is a vibrant, permanent infusion that is smooth to the touch.
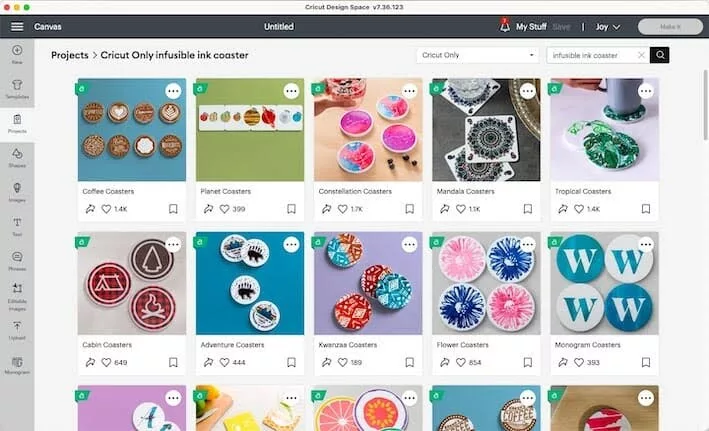
Procedural Analysis for Graphic Art: The Ceramic Coaster Project
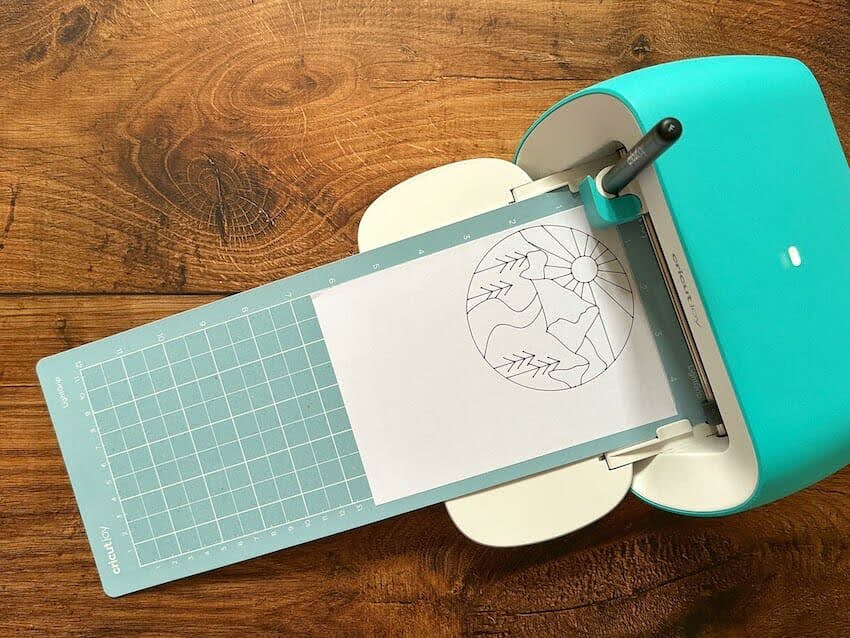
For more intricate or hand-drawn designs, Infusible Ink Pens and Markers offer a different utility, allowing the cutting machine to "draw" a design that can then be heat-transferred.
Phase 1: Drawing Configuration
In Design Space, the user sets the "Operation" of the design to "Pen." The machine is loaded with the Infusible Ink Pen and a sheet of standard laser copy paper. Laser paper is preferred over inkjet paper due to its heat-resistant properties and lack of chemical coatings that might interfere with the gas exchange.
Phase 2: Drawing and Coloring
The Cricut machine draws the outline of the design. If a multi-color design is desired, the user can manually fill in the shapes using Infusible Ink Markers. It is essential to ensure the ink is dry before proceeding to the heat phase to avoid smearing.
Phase 3: Coaster Infusion
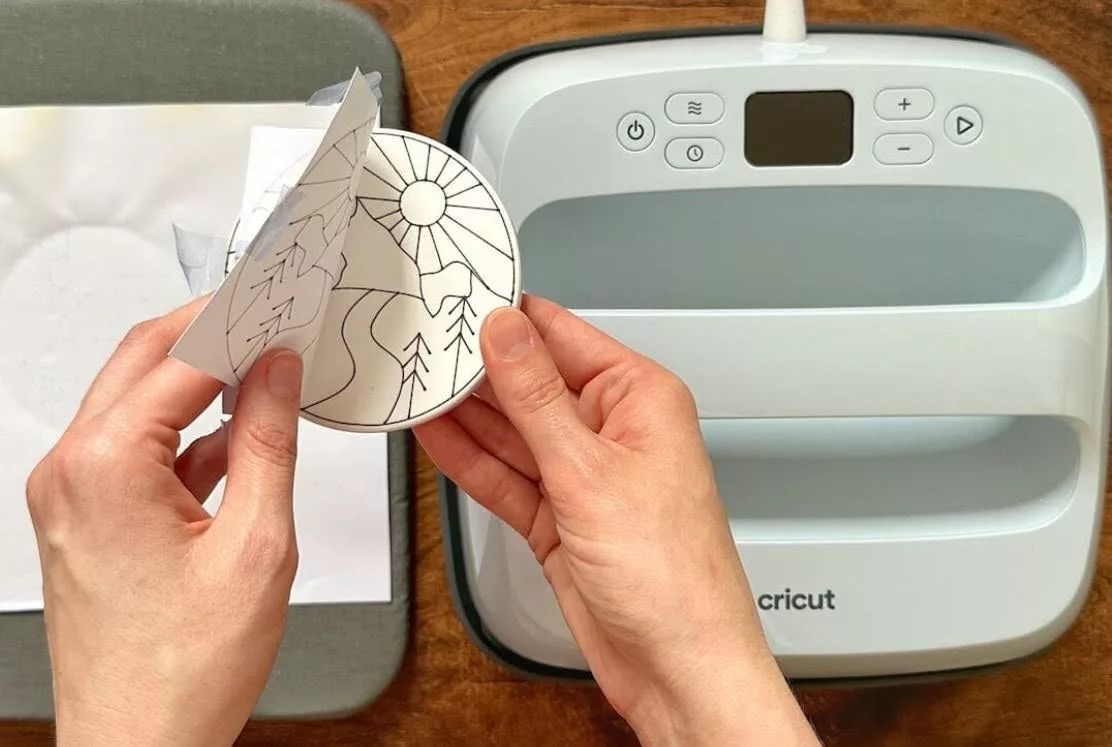
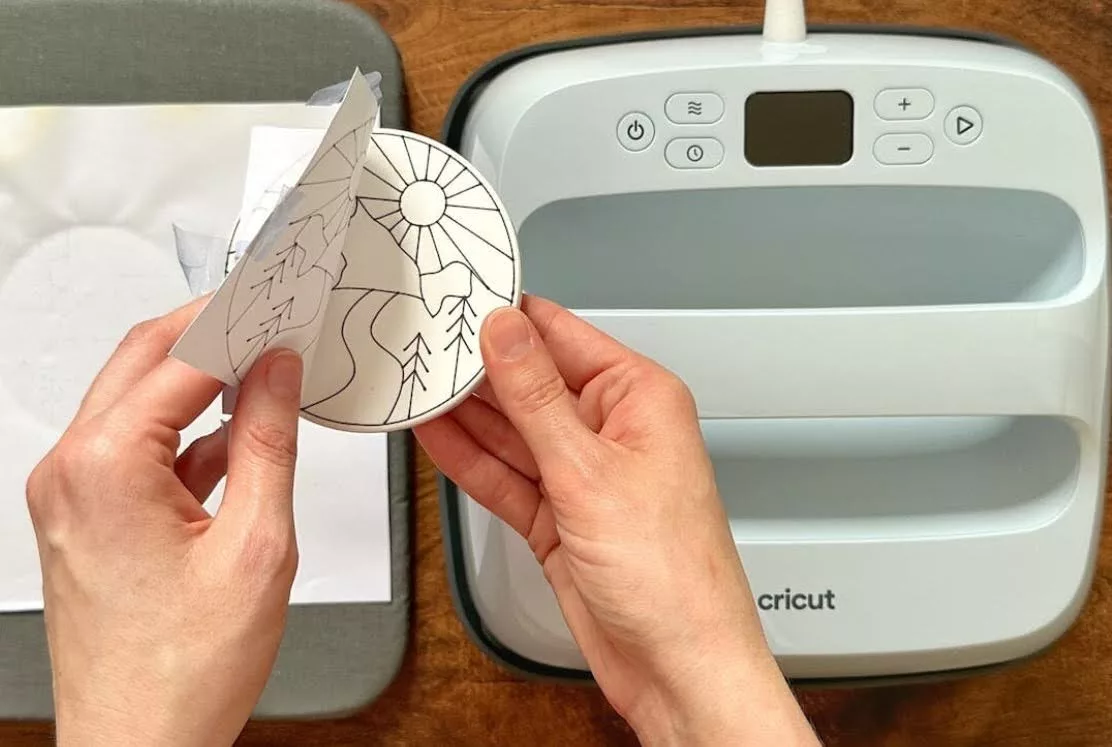
Ceramic coasters require a specific heat profile due to their density. The coaster is cleaned with a lint-free cloth, and the design is taped securely using Heat Resistant Tape. The coaster is then placed face-down on the heat press mat, with the heat press applied to the bottom of the coaster or through the paper, depending on the specific press model. For ceramic, the temperature is typically 400°F for 240 seconds.
Official Guidelines and Quality Control
Cricut Inc. emphasizes several "best practices" to ensure the longevity of the warranty and the safety of the user. From a safety perspective, the sublimation process can release minor fumes; therefore, operation in a well-ventilated area is advised.
Regarding maintenance, official care instructions for infused fabrics include:
- Machine wash cold with mild detergent.
- Avoid the use of fabric softeners and bleach, which can break down the chemical bonds.
- Tumble dry on low or air dry.
- Do not use steam when ironing, as moisture can reactivate the ink gas in extreme cases, causing "ghosting."
Analysis of Implications for the Crafting Industry
The introduction and refinement of Infusible Ink have several long-term implications for the DIY sector. First, it has raised the ceiling for "home-made" quality. Products created with this technology are indistinguishable from those found in high-end retail stores, which has empowered small business owners to scale their operations without investing thousands of dollars in industrial sublimation printers.
Second, it has fostered a more sustainable approach to custom fashion. Because the ink is permanent and does not crack or peel, the garments have a longer lifecycle than those made with traditional vinyl, which often ends up in landfills once the design degrades.
Finally, the technology continues to evolve. Recent market trends show an expansion into "glow-in-the-dark" and "UV-activated" infusible inks, suggesting that the chemical engineering behind these products is still in an active phase of innovation. As polymer science advances, it is expected that the range of compatible materials will expand, potentially allowing for the infusion of natural fibers like cotton and silk in the future.
In conclusion, Cricut Infusible Ink represents a sophisticated intersection of chemistry and creativity. By mastering the specific temperature, timing, and material requirements, crafters can produce professional-grade items that offer unparalleled durability and aesthetic brilliance. Whether for personal use or commercial enterprise, the technology has established a new standard for excellence in the personalization industry.